A while ago I did a blog post about managing AppLocker on Windows 10 via OMA-DM. During that post I showed how to use OMA-DM, via Microsoft Intune hybrid and standalone, to configure AppLocker. In this post I’ll do something similar for setting up kiosk mode on Windows 10. Windows 10 Enterprise and Windows 10 Education provide a configuration service provider (CSP) for setting up kiosk mode. That’s the AssignedAccess CSP.
During this blog post I’ll go through the AssignedAccess CSP, and its required input, I’ll go through the configuration steps in Microsoft Intune hybrid and standalone and I’ll show the end-user experience with the Twitter app as an example.
AssignedAccess CSP
Before using the AssignedAccess CSP it’s good to get a better understanding of the CSP. The CSP is used to set up the Windows 10 device to run in kiosk mode. Once the CSP has been executed, then the next user login, that is associated with the kiosk mode, puts the Windows 10 device in the kiosk mode running the specified application. Let’s go through the nodes of the AssignedAccess CSP.
 ./Vendor/MSFT/AssignedAccess– Defines the root node for the AssignedAccess configuration service provider;
- ApplicationLaunchRestrictions – Defines a JSON string that contains the user account name and the Application User Model ID (AUMID) of the Kiosk mode app
- The JSON string should look like the following example: {“Account”:”CORP\\pvanderwoude”,”AUMID”:”9E2F88E3.Twitter_wgeqdkkx372wm!x554f661dyd360y462cy8743yf8a99b7d41dbx”}
- The account name can be a domain account as well as a local account. When a local account is used, the domain name should be the name of the device;
- The Application User Model ID (AUMID) can be easily received through PowerShell. The following example can help with collecting the information:
foreach ($App in (Get-AppxPackage)) {
    foreach ($Id in (Get-AppxPackageManifest $App).package.applications.application.id) {
        Write-Output ($App.packagefamilyname + "!" + $Id)
    }
}
Configuration
Now it’s time to use the AssignedAccess CSP to set up Windows 10 devices in kiosk mode. In this configuration I’m going to use the Twitter app as an example for my domain user account and I’m going to show the required configuration for Microsoft Intune standalone and hybrid.
Microsoft Intune hybrid
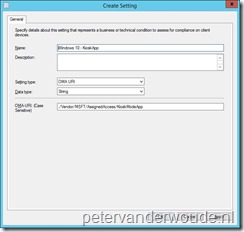
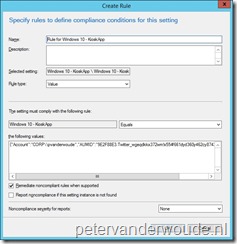
Let’s start with the configuration in Microsoft Intune hybrid. I’ll walk through the required steps to configure the required Configuration Item.
Note: This created a configuration item that can be deployed like any other configuration item, as a part of a configuration baseline.
Microsoft Intune hybrid
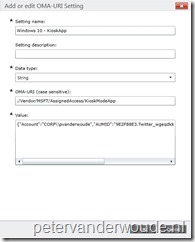
Let’s continue with the same configuration within Microsoft Intune standalone. I’ll walk through the required steps to configure the required Configuration Policy.
End-user experience
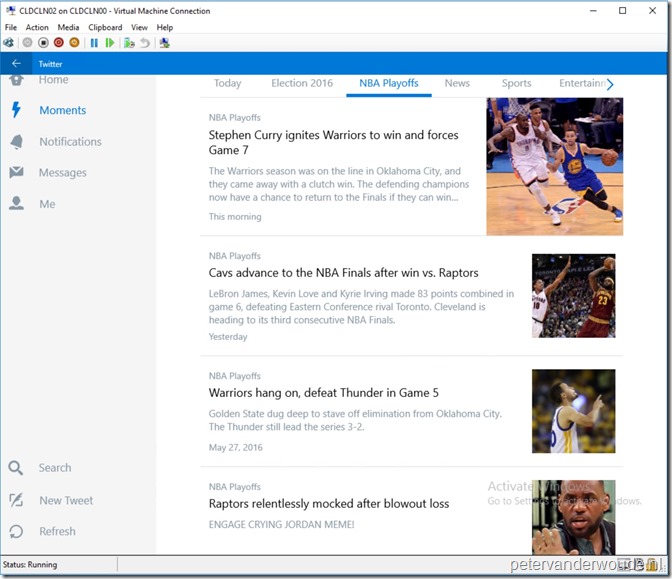
Let’s end this post with the most important thing, the end-user experience. After the device receives the new configuration and the configured end-user logs on, the end-user will receive a full screen Twitter app as shown below. The end-user won’t be able to close the Twitter app and can only get out of the kiosk mode by pressing Ctrl+Alt+Del. That will bring the end-user back to the logon screen.
| End-user experience |
 |
More information
Fore more information about kiosk mode on Windows 10, the AssignedAccess CSP and the AUMID, please refer to:
- Set up a kiosk on Windows 10 Pro, Enterprise, or Education: https://technet.microsoft.com/itpro/windows/manage/set-up-a-kiosk-for-windows-10-for-desktop-editions
- Find the Application User Model ID of an installed app: https://msdn.microsoft.com/library/windows/hardware/mt661825%28v=vs.85%29.aspx
- AssignedAccess CSP: https://msdn.microsoft.com/en-us/library/windows/hardware/mt158258%28v=vs.85%29.aspx


Hi Peter,
I had done this and it worked at first, by specifying the “pc hostname\\kios” local account, but after using the “Clear-AssignedAccess” cmdlet, the setting xas never again applied.
How can I make it works ? is there some tatooing somewhere ?
Another question: I’ve been able to make it work on a 1511 Enterprise CBB, but I’m not even able to deploy my custom app on a 2015 LTSB (1507)… nor to push the kiosk mode 🙁
Do I have to wait for the next LTSB release ?
Thanks!
Hi Seb,
Did you sync the policies on the devices again?
Also, I can’t really find specific information about the kiosk mode for LTSB. I can imagine that it’s not available.
Peter